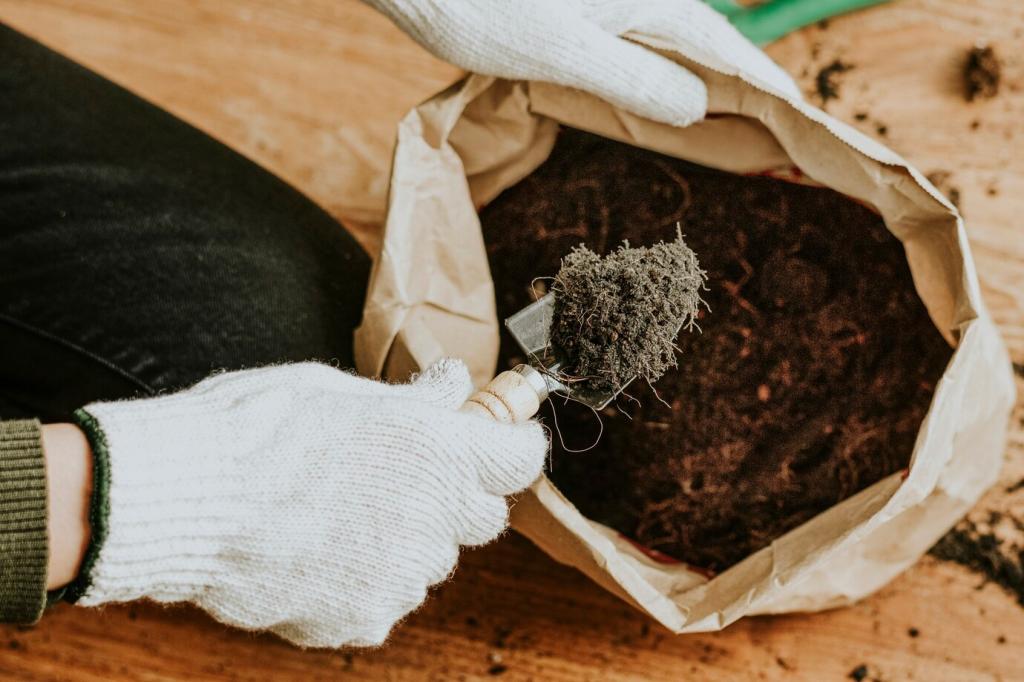
Essential Do's and Don'ts for Balcony Composting

Set Up for Success: Containers, Space, and Safety

Pick a secure container with a tight lid, ventilation holes along the sides, and a drip tray underneath. A rat-resistant latch and fine mesh over vents prevent pests. Start with five to ten liters; you can always expand once you’ve dialed in consistent, odor-free results.

Set Up for Success: Containers, Space, and Safety

Check weight limits and household policies before stacking bins. Keep the setup away from edges, anchor it from wind, and place it on a stable, waterproof mat. If regulations forbid composting, consider bokashi pre-fermentation or a worm bin, and confirm what’s acceptable with your property manager.

What Goes In, What Stays Out

Aim for roughly two parts browns to one part greens by volume. Use shredded cardboard, paper towels without chemicals, and dry leaves to absorb moisture and odors. Greens like coffee grounds and chopped vegetable scraps supply nitrogen, but browns set the tone for stable, tidy composting.

Moisture, Air, and Temperature: The Clean-Running Trio

Grab a handful and squeeze; one or two drops is perfect. If it’s dripping, fold in more browns. If it crumbles, mist gently and mix. A small spray bottle and a stash of shredded cardboard make on-the-spot adjustments effortless and keep the system stable through weekly routines.

Odors, Pests, and Neighbor Etiquette

If you notice sour or garbage-like odors, add a generous layer of browns, stir thoroughly, and ensure the lid seals properly. Cover fresh scraps immediately. Most smells are simply signals of too many greens or not enough air, both easily corrected with these quick steps.

Odors, Pests, and Neighbor Etiquette

Freeze kitchen scraps before adding, or microwave briefly to disrupt eggs. Always cap new greens with paper or leaves. If pests appear, add a thicker brown layer, reduce banana peels, and place a small vinegar trap nearby. Persistence for three days usually clears the issue completely.

Routine Care and Quick Troubleshooting

Do adopt a five-minute weekly ritual

Open, sniff for neutral earthiness, do the squeeze test, stir from bottom to top, and add a browns cap. Wipe the rim and check vent mesh. This short routine prevents most issues and keeps your balcony looking as tidy as a well-kept windowsill herb garden.

Don’t ignore warning signs

Persistent wetness, sour smells, or mats of slimy material indicate imbalance. If you see them, pause new greens, add browns, and increase aeration. A brief reset today saves days of annoyance later, ensuring your compost returns to quiet, dependable, neighbor-proof operation by next week.

Harvesting, Curing, and Using Your Compost

Finished compost is dark, crumbly, and smells like forest soil. If you still recognize many scraps, give it more time. When ready, stop feeding, let it rest a week, then scoop out the mature layer for curing while fresher material continues breaking down beneath.

Harvesting, Curing, and Using Your Compost

Let harvested compost breathe in a ventilated bucket for one to two weeks to finish mellowing. Sift through a simple mesh to remove chunky bits and stickers. Return undecomposed pieces to the active bin. This extra step keeps container soil fluffy, drainable, and consistently productive.

Stories, Motivation, and Community

Do learn from small, honest stories

When Jae moved his bin from the sun-baked railing to a shaded corner and added a thicker brown cap, fruit flies disappeared within days. He wrote down the change and now repeats it every summer. Share your own adjustments so others can learn faster and stress less.
Octopusreunion
Privacy Overview

This website uses cookies so that we can provide you with the best user experience possible. Cookie information is stored in your browser and performs functions such as recognising you when you return to our website and helping our team to understand which sections of the website you find most interesting and useful.